It's that time of year again, pumpkin is flying off the shelves.
Pumpkin pie, pumpkin spice lattes, pumpkin cereal, pumpkin seeds, pumpkin ice cream the list goes on. I love baking and I am constantly looking for new recipes. While I was on Pinterest searching for unique pie decorations I noticed that there was nothing for equestrians!
With it being pumpkin season and with Thanksgiving right around the corner, I decided to make a pumpkin pie! If you don’t love pumpkin these decorations can be used on any type of pie.
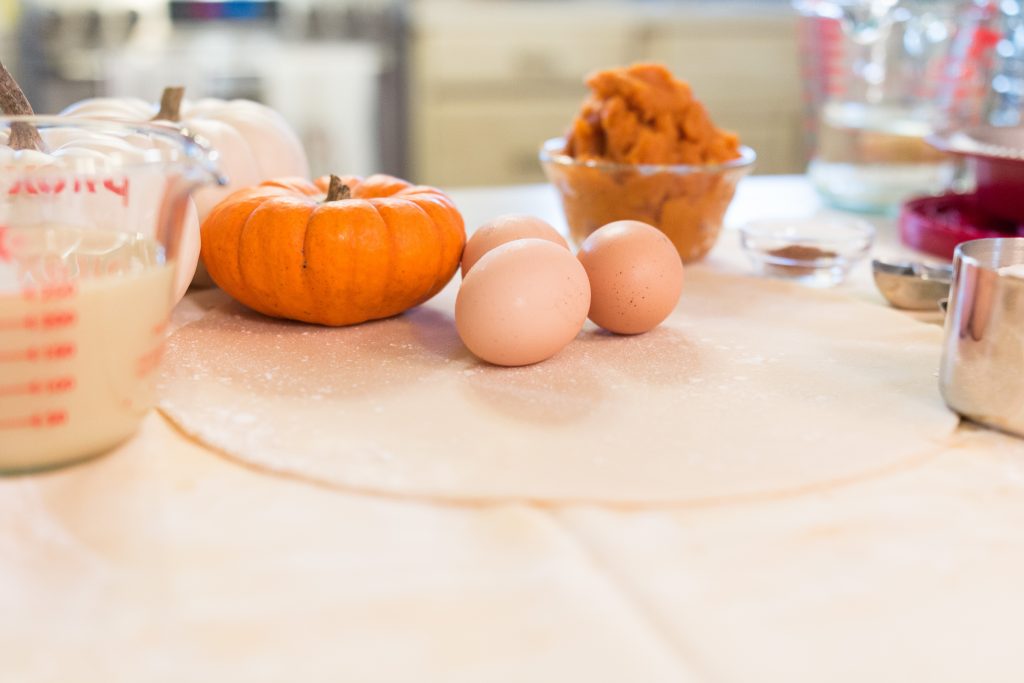
As equestrians we are really busy, that’s why for this recipe I used a store-bought crust. If you have some extra time you can make my family’s favorite pie crust found here. Scroll to find some tricks and tips for the perfect pie!
Tips and Tricks
For this recipe, I used eggs from our chickens which really made a difference. If you don’t have eggs fresh from the farm, store-bought is fine.
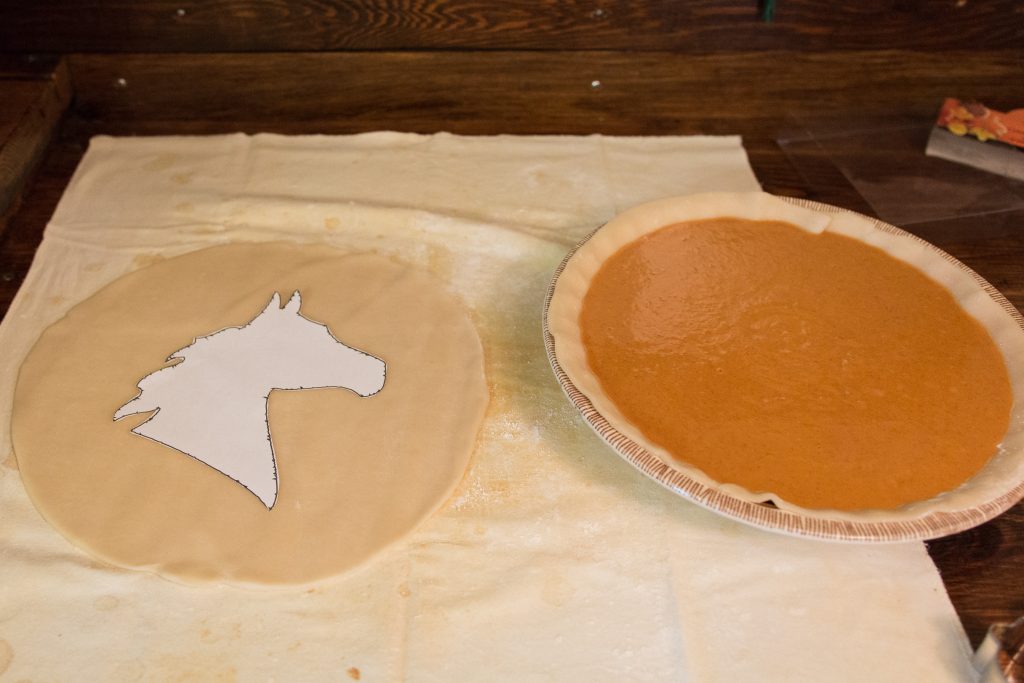
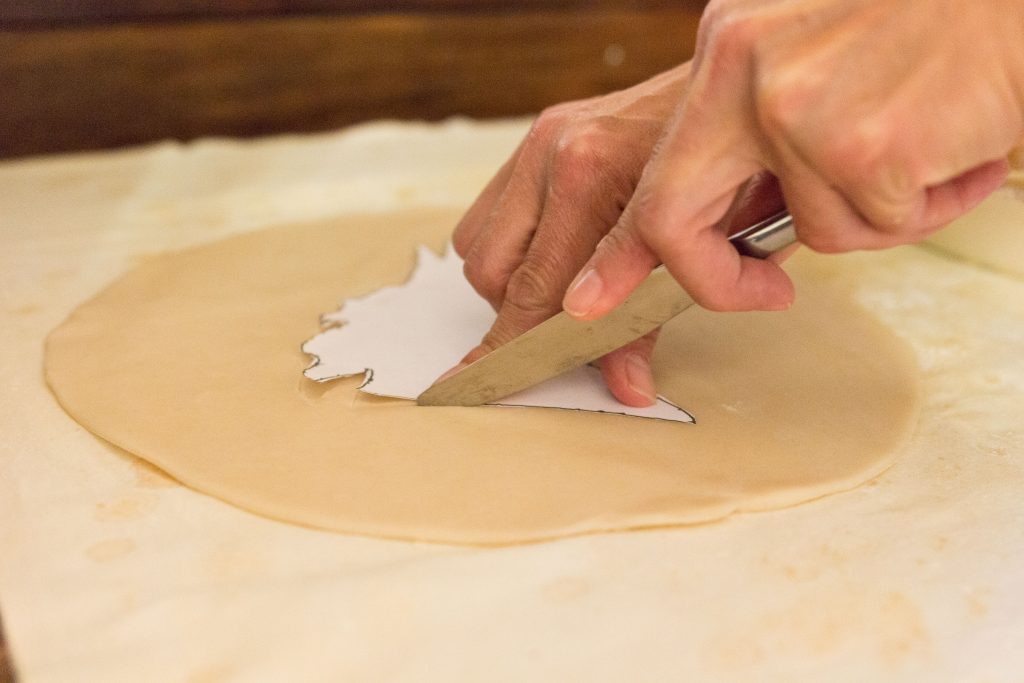
Use a stencil for the perfect horse head! You can find the one we used here!
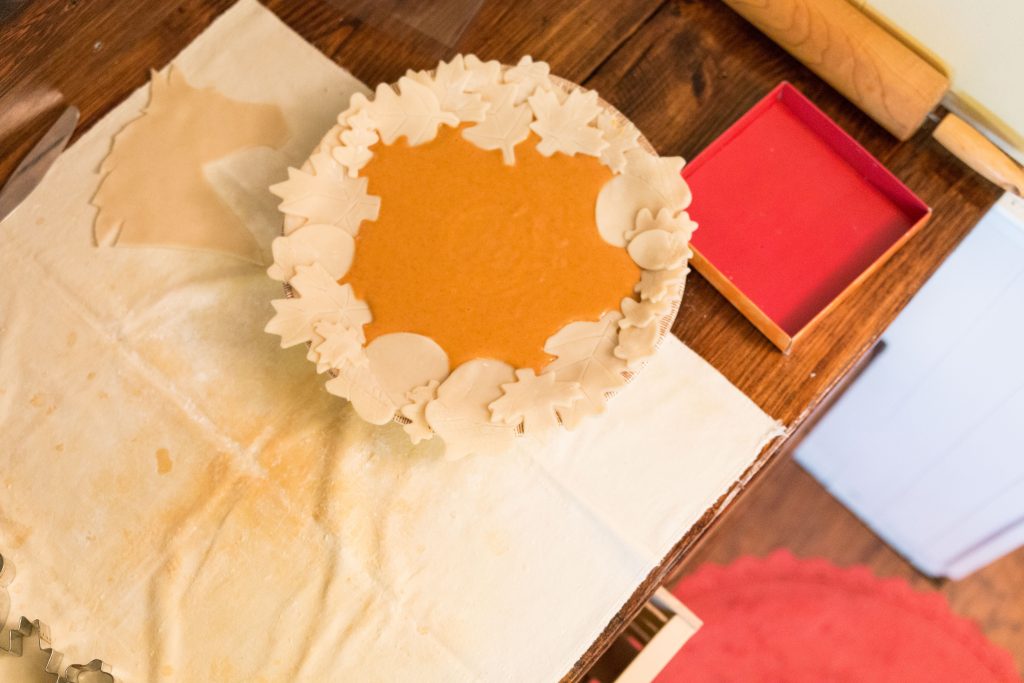
How do you keep your decorations from sinking? First, you need to use a little bit of water as an adhesive between your leaves and the pie. Secondly, the pie will bake for 20 minutes BEFORE you add the horse head. This allows the pie to set so the horse head does not sink and keeps your horse head from burning.
I doubled this recipe to have enough batter left over for tarts. Tarts are great for the kids, they are easy to grab and a lot less messy.
The Recipe:
- 2 eggs
- 1 16oz can of pumpkin
- 3/4 cup sugar
- 1/2 tsp. cinnamon, salt, and ginger
- 1/4 tsp. cloves
- 1.5 cups of Carnation Evaporated Milk
- 2 9-inch unbaked pie shells
Baking Instructions
- Preheat the oven to 425°F.
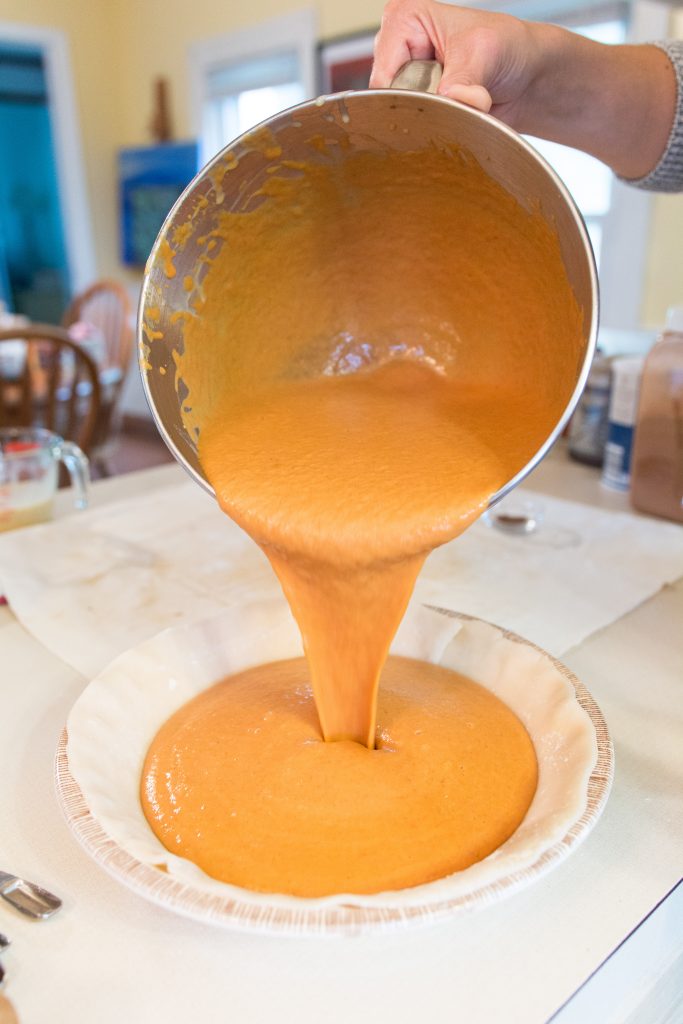
- Mix together the eggs, pumpkin, sugar, and spices.
- Slowly add the evaporated milk until completely combined.
- Pour the batter into the first pie shell.
- With the second pie shell, set your horse head stencil in the middle. Slowly cut out the horse head and set it to the side. DO NOT put the horse head on the pie.
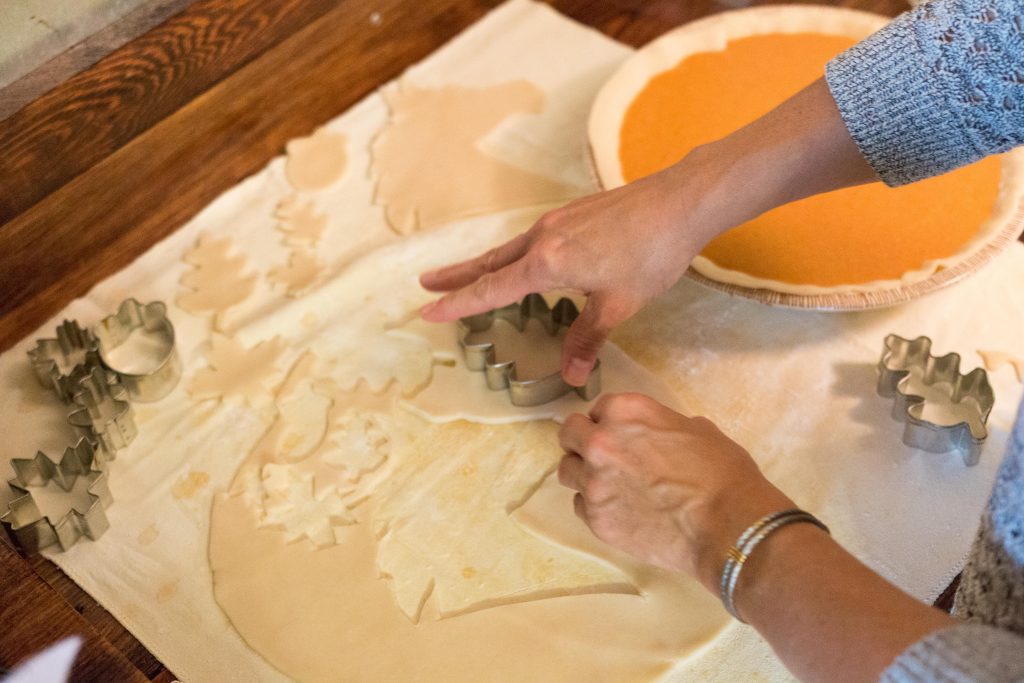
- Next, use your leaf/acorn/or fall-themed cookie cutters to create the border with the leftover dough. Use water as adhesive to stick them to the border.
- When finished, brush the border with an egg wash and add tinfoil around it to keep the decorations from burning.
- Bake at 425°F for 15 minutes.
- Reduce the temperature to 350°F and continue baking for 30 minutes.
- Remove the tin foil and place the horse head in the center.
- Bake for 15 more minutes or until a knife inserted in the center of the pie comes out clean.
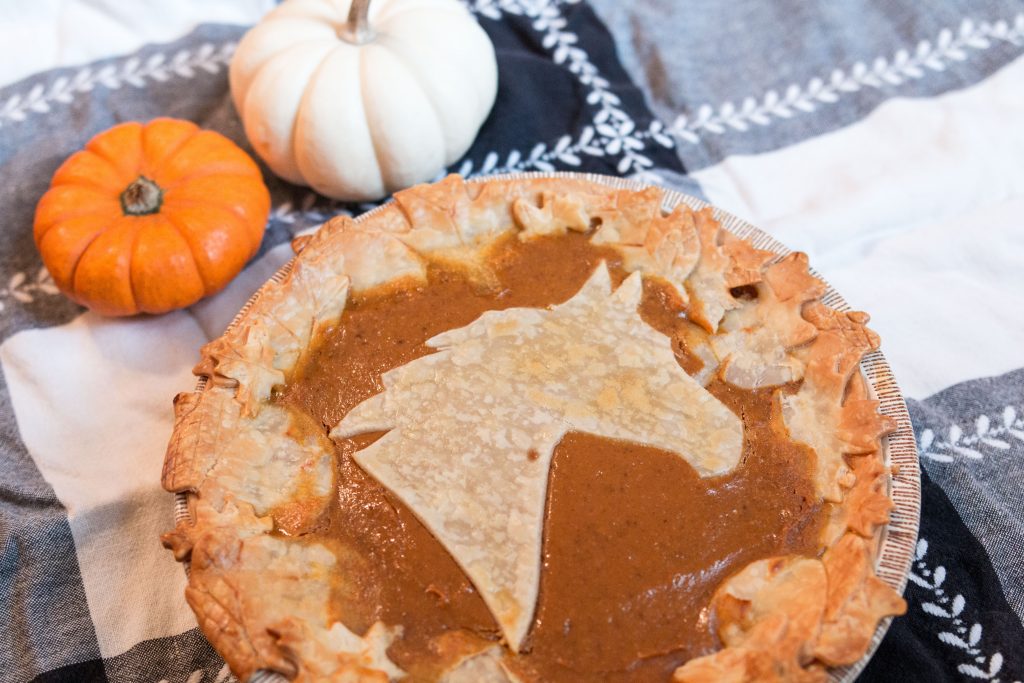
Enjoy your equestrian pumpkin pie!
Related Articles:
Apple Season Is Here – Emily Fought
The Good, the Bad, and the Sinfully Delicious Pumpkin Horse Cookies – Emily Griffin
Healthy Fall Treats for Horses – Casie Bazay

