Our sheds are oriented with the closed back-side facing south which is where most of our weather comes from. We built the sheds so they span the existing fence line so the two neighboring horses can be near each other and “share” a shed.
Shed Size
Our sheds are 12’ deep by 24’ wide allowing each horse to have a 12’x12’ covered area. They are 10’ tall in front and 8’ tall in the back. This slope allows for weather to run off the back of the shed roof.
Grading
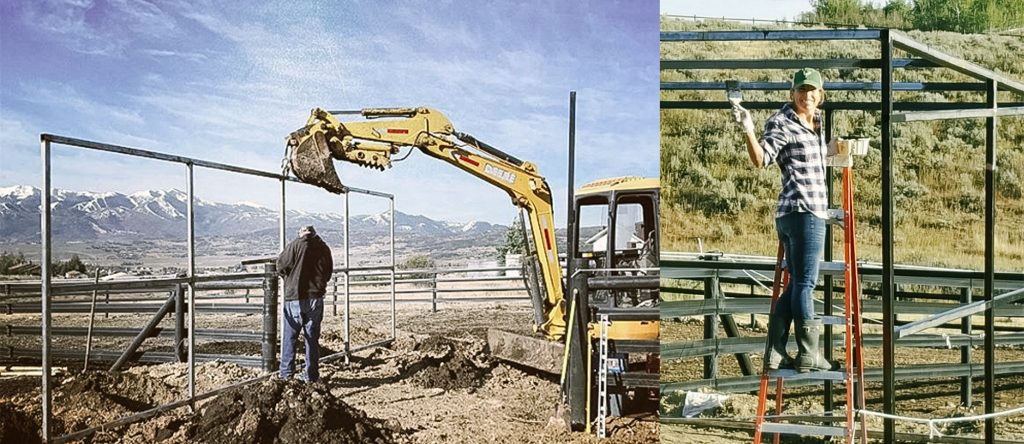
We brought in some dirt to create a bit of a raised pad for the sheds. The pad is roughly 16’x30’. The grade of the pad runs away from the sheds on all sides for proper drainage. The last thing you want is water running into your shed.

Outer Materials
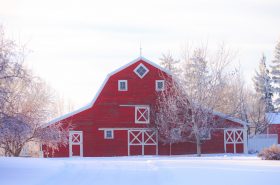
The frames of the sheds were made from welded 2”x2” square tubing. They were painted black to prevent rusting. The outer siding is black ribbed metal sheets and the roof is galvanized ribbed metal sheets. The edges are finished with black gable trim.
Interior Materials
I had the builders install metal u-channels running vertical so I could slide the interior boards down the channels to finish the interior walls. I also had the builders set two channels facing each other in the center to create a dividing wall between each horse. I used 2”x12” redwood boards and cut them to the interior length between channels and simply slid them into the channels. It’s the easiest way to create a wall and easy to replace a board if needed. I also sealed the wood with clear marine water proofer just to be safe.

Flooring
The first thing I did was add a 6”x6”x12’ pressure treated timber to the front of each shed. I drilled holes and pounded rebar through the timber and into the ground to make sure it stayed in place. This was used as a front border to hold in the flooring. The shed interior walls provided the other three borders for the floor. I added gravel to level the shed floors. I then added a bit of sand and then installed the 12”x12” concrete pavers. The final step was to add wall-to-wall rubber stall mats.
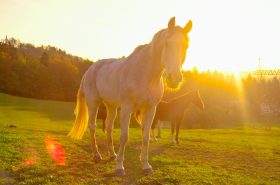
I love how the sheds turned out and I know my horses love them even more!
**
Erin Gouveia of Silver Oaks Farm is an accomplished equestrian, award winning photographer, and an artist. She was born and raised in San Diego, California, graduated from Colorado State University, and now resides in Park City, Utah on a small ranch with her husband. She has had careers in Medical Research, Zookeeping, and most currently Photographer at Erin Kate Photography.
Follow Erin on Instagram at @silveroaksfarm and find her equestrian inspired fine art photographs and handmade goods in her Etsy shop SilverOaksFarm.