Two weeks ago, a young, skinny stud colt mysteriously showed up at our place. As one might expect, I put out a call for the owners, but no one came forward. I then reported the incident to the sheriff’s office. However, judging from the state of the young horse, he was likely dumped or had owners who didn’t care enough to even notice he was gone.
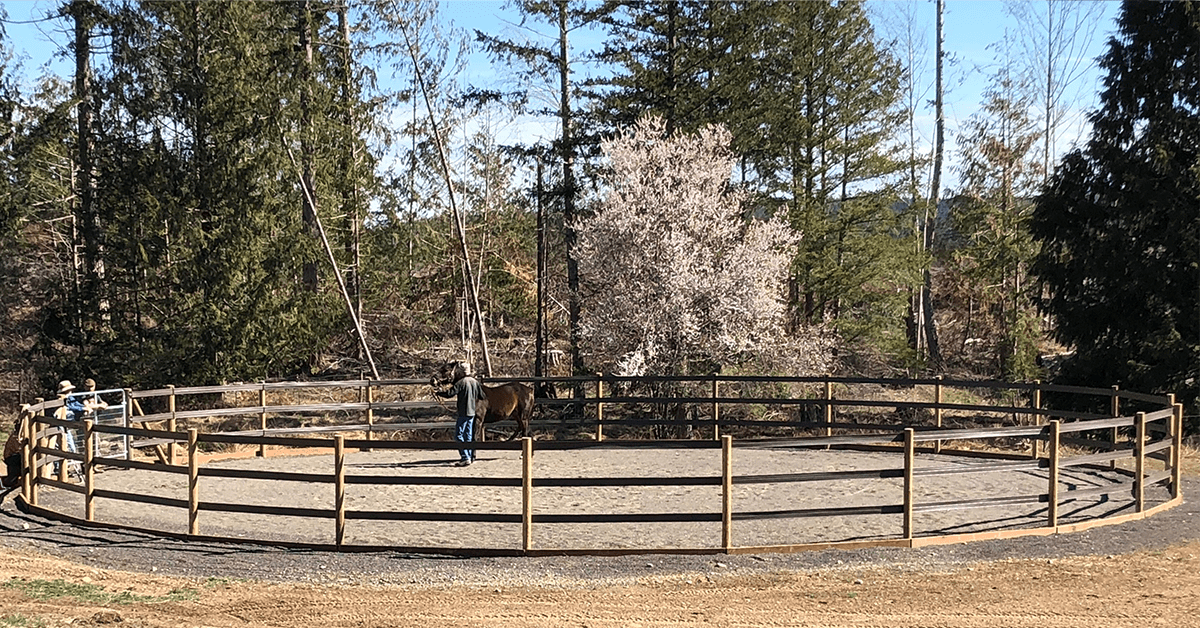
After corralling him into the small pasture where I keep my two goats, I quickly discovered that he had been worked with very little, if at all. He was quite skittish and wary of people. Since he is now mine—either temporarily or for good—the first step is getting him the halter broken.
Now I’ve dealt with halter-breaking young horses before. About twenty years ago, my husband surprised me by bringing home three virtually unhandled fillies as a “project”. Well, let’s just say I learned a lot from that whole experience—including how to halter break young horses and eventually start them under saddle.
If you ever find yourself in a similar situation to what I’m currently dealing with, or if you are new to handling young horses, here are some tips for halter-breaking one…
Work in the Right Spot
A round pen or another small enclosed area is best for halter-breaking a horse. You want the horse to have to pay attention to you, but you also want the room to get away should they rear or turn and kick. Wherever you are, try to have as few distractions as possible—that means, no other animals or people nearby.
Have Patience
As with doing anything with horses, you’ll need plenty of patience to halter break one. Do not set up a time frame to get the task done and do not get in a hurry. Only work with the horse when you have some time to spare. Likewise, keep a calm manner and don’t get angry when the horse doesn’t cooperate (which they likely won’t at first).
With young or unhandled horses, it’s best to work in short sessions so the horse doesn’t get overwhelmed. For example, in the first session, you can let them get used to seeing the halter and lead. Rub the lead rope along their neck and let them get used to the feel of it. In the second session, you can then put the lead around their neck and let them get used to the feel of that. For the third session, you can put the halter on, and so on.
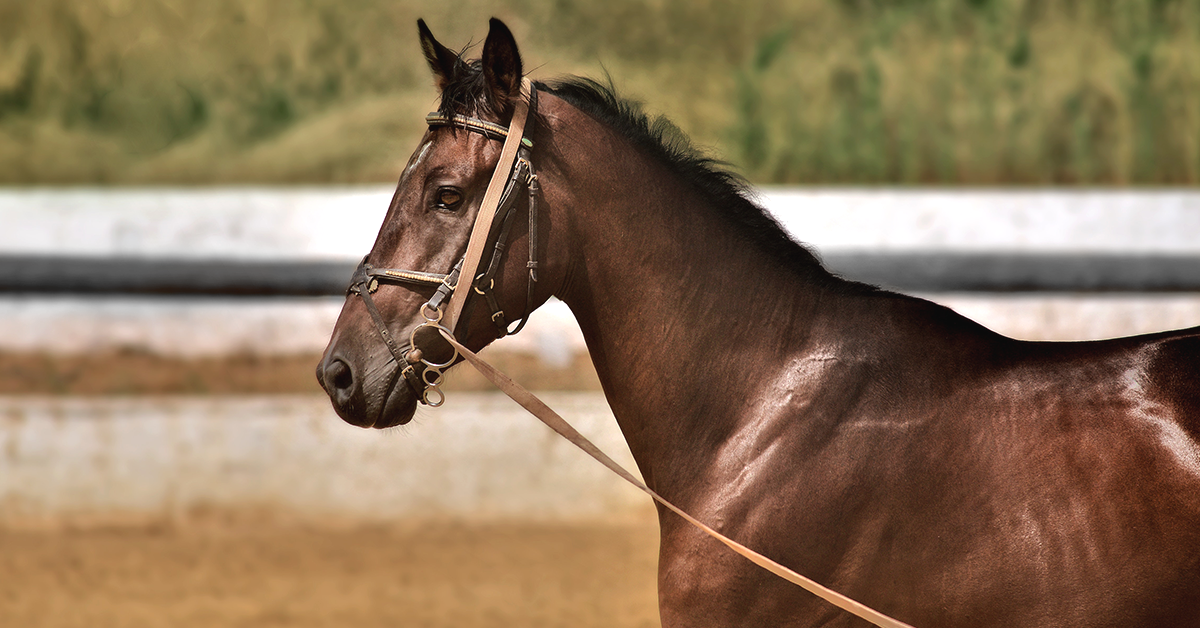
Learning to Lead
Once the horse has accepted the halter, it’s time to teach them to lead. Start by applying gentle pressure in one direction. Once they turn their head or take a step in that direction, release the pressure and reward them. Teach the horse to turn both ways, then move forward, and eventually back up. Always reward your horse for doing what you’ve asked.
End on a Positive Note
As with any type of training session, you should always end on a positive note. You want the horse to see haltering as a pleasant process, not a scary one. Some horses will accept the halter and lead more readily than others. But even with difficult horses, stop when you’re in a good place.
As for my newly acquired colt, we’ve been taking it slowly as he seems to get stressed if I do too much at once. But he’s currently learning to lead, one step at a time!
Did you enjoy this blog post? We think you may like Exercises for Improving Your Horse’s Fitness Level by Casie Bazay.