If you have adequate acreage, then growing your own hay may be a smart choice for your farm!
Depending on how many horses you have to feed, your hay bill can get expensive! One horse can consume between 15 and 30 bales of hay in a single month. It adds up quickly! If you have the resources and time to grow your own hay, it’s worth considering. You can take control of your horse’s diet and know exactly what they’re consuming.
Before you jump in head first, make sure to do some research and proper planning. Most farm owners are either starting from scratch or reviving an old hayfield. If you have an existing hayfield, then you’re in luck! It may only need some maintenance to be restored. You can eliminate weeds by mowing multiple times throughout the summer. This will allow the grass to grow back and prevent weeds from developing.
Step One: Choose Your Seed
Starting from scratch isn’t necessarily a bad thing. This gives you the opportunity to choose your seed. Most horse owners choose legume hay, grass hay, or a combination of both. Some of your legumes include alfalfa and clover, while the grasses types range from timothy to bermudagrass.
Most horses don’t require a lot of legume hay. It can lead to excessive weight gain! On the flip side, it’s known for being high in energy, protein, and calcium. That makes it helpful for young, developing horses and lactating mares.
Grass hay is a safe option for most horse owners. It’s very high in fiber, but without the increased protein, carbohydrates, and vitamin levels of legume hay. Many like to feed a legume and grass hay mixture to get the best of both worlds.
Ultimately, your region and climate will influence the seed you should plant. Your local country agricultural extension agent should be able to offer you sound advice.
Step Two: Prep Your Soil
Now that you’ve chosen your seed, you’ll need to get your soil ready for planting. A soil test is a good first step! It’ll use a pH scale to determine the acidity of the soil. Some types of hay will require a higher or lower pH value in order to be successful. Your field may require lime, which can raise a pH level and reduce weed growth. It should be done six months prior to planting though. You’ll also need to consider the nitrogen, phosphorus, and potassium levels of your field.
In general, alfalfa requires a pH of 6.5 to 7.5, timothy 5.5 to 7.0, and orchard grass 5.8 to 7.5. These are just a few examples of legume and grass hays.
Step Three: It’s Time to Plant
You must learn the best time to plant your seed based on your climate. Turn to your local ag agent again! Once you’re ready, consider using a seeder. The hayseeds need to be 1/4” to 1/2” deep.
Step Four: Harvest Your Hay
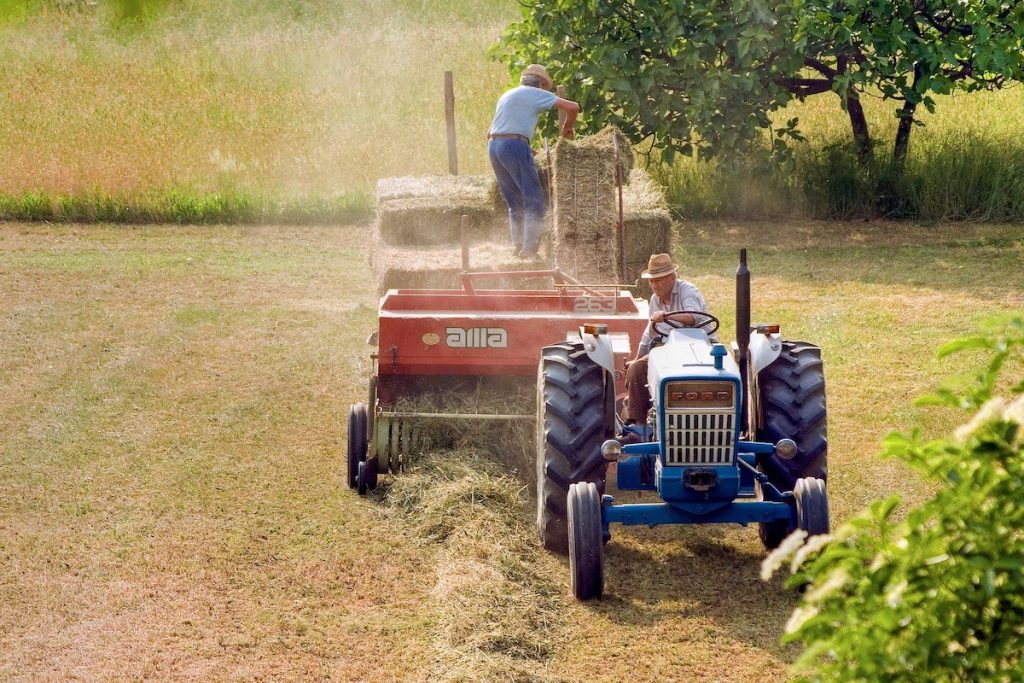
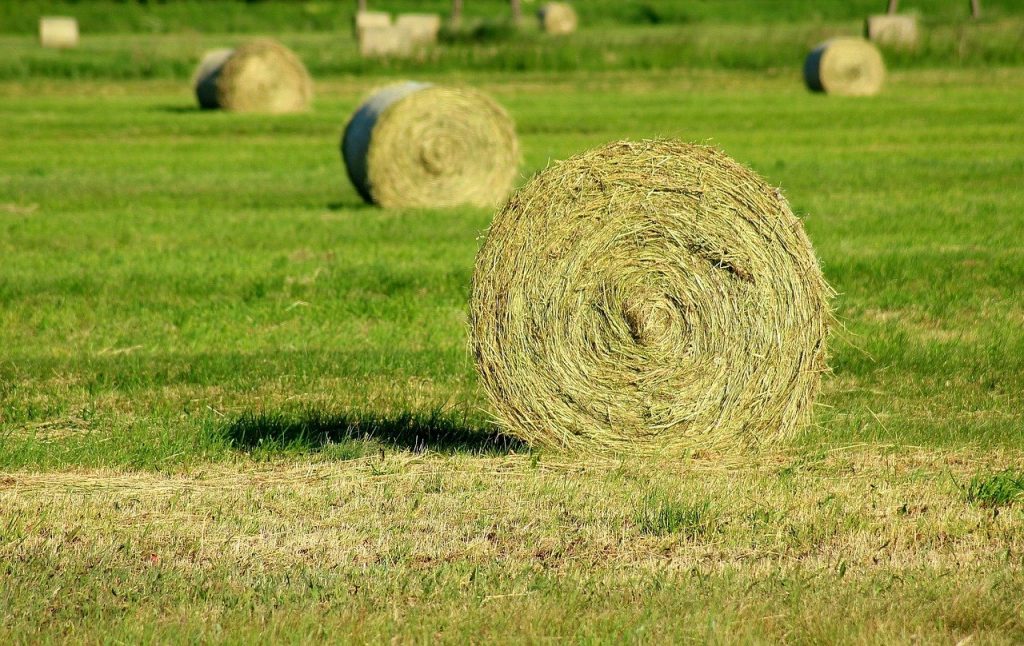
There are four steps within the harvesting process- cutting, drying, raking, and baling. The first process involves cutting the hay a few inches off the ground. You’ll use a tractor and hay mower. Next, the hay needs time to dry, which lowers the moisture content. The farmer now needs to rake and flip the hay to allow it to dry further. A hay rake is utilized in this 3rd step. In step four, the tractor and a baler collect the hay and compress it into bales. Now, it’s ready to be picked up and stored. Many use a hay wagon to transport their square bales.
The process seems very involved (and it definitely isn’t easy), but after you learn the steps and acquire the equipment you can save quite a bit in hay expenses.


